
Size
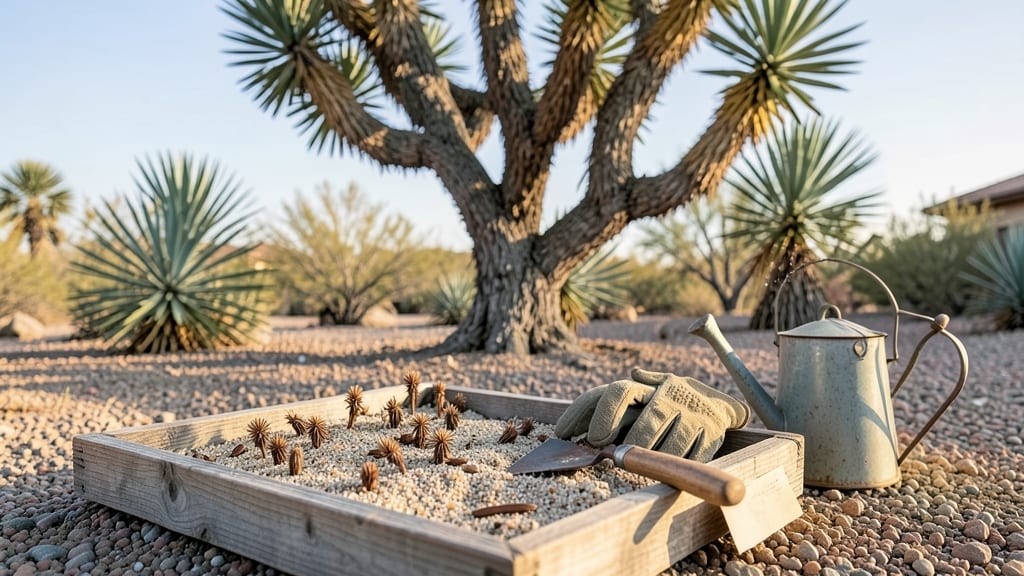
Growing Joshua tree seeds requires cold stratification—a trick that mimics nature’s winter chill to coax those stubborn seeds into sprouting. 🌵 I’ve struggled with them too, but after three failed attempts, I finally cracked the code: soak the seeds overnight, then refrigerate them for 6-8 weeks before planting.
The patience pays off with those first tiny, spiky shoots breaking through the soil.
You’ll need just a few supplies: well-draining cactus mix, small pots, and a spray bottle for watering—no fancy equipment. The key is replicating the Mojave Desert’s harsh conditions: bright light, minimal water, and consistent warmth once they sprout.
Most beginners overwater, which drowns the delicate seedlings, so let the soil dry completely between waterings.
By month 6, you’ll see 1-2 inch seedlings with their signature twisted branches, though full maturity takes decades. The thrill? Watching them survive droughts and thrive in rocky soil once transplanted. These aren’t quick rewards—they’re a long-term commitment to desert beauty.
Perfect for gardeners in USDA zones 9-11 or those with indoor grow lights. Even if you live in a cooler climate, container-growing works—just move pots outside during summer. Here’s how to set it up right the first time.
📚 In This Guide
- What you need
- Instructions
- Tips and common mistakes
- Wrapping up and next steps
What you need
- ● Joshua Tree seeds: 5–10 fresh, viable seeds (ensure they’re not from a protected plant—check local regulations!)
- ● Cold stratification supplies: 1 small paper towel or coffee filter
- ● 1 resealable plastic bag (quart-sized or larger)
- ● 1 cup of moistened potting mix or perlite (keep damp but not soggy)
- ● Growing containers: 1–2 small pots (4–6 inches deep) with drainage holes
- ● High-quality cactus/succulent soil mix (or regular potting soil amended with perlite/sand)
- ○ Heat mat (optional but helpful): A small seedling heat mat (70–80°F range) to speed up germination.
- ● Spray bottle: For gentle watering (avoid over-saturating!).
- ● Clear plastic wrap or humidity dome: To retain moisture during early growth.
- ● Seedling trays with clear lids for extra humidity control.
- ● A grow light (LED or fluorescent) if natural light is limited.
- ● Fungicide (like neem oil or a mild solution of hydrogen peroxide) to prevent mold.
- ● Label markers to track planting dates and progress!
How to germinate Joshua tree seeds using cold stratification
This desert native thrives with patience—here's how to break dormancy and get those tough seeds sprouting.
🌱 Step 1: Harvest and Clean the Seeds
Collect ripe Joshua tree seeds from mature pods—look for brown, papery cases that split open easily. Remove any remaining pulp by soaking seeds in lukewarm water for 24 hours, then gently rub between your fingers to dislodge the sticky residue. Rinse thoroughly and let them air-dry on a paper towel for 48 hours.
I always spread them in a single layer because damp seeds left clustered will mold overnight. The goal is clean, dry seeds ready for stratification—no shortcuts here. If you're working with store-bought seeds, skip the soaking and proceed directly to drying.
🥶 Step 2: Cold Stratify for 6-8 Weeks
Place the cleaned seeds in a sealed plastic bag with a damp paper towel—just enough moisture to keep the towel slightly damp, not soaking. I like to use a quart-sized freezer bag and label it with the date. Store the bag in your refrigerator's crisper drawer, where temperatures stay consistently around 35-40°F.
Check the seeds every 2 weeks—if the towel feels dry, mist it lightly with water. The cold stratification mimics winter conditions in the Mojave, breaking the seed's natural dormancy. You'll know it's working when you see tiny roots emerging after 6-8 weeks. Don't rush this step—precipitation timing matters more than anything else.
☀️ Step 3: Plant in Well-Draining Desert Mix
Once the seeds sprout, transplant them into a 6-inch pot filled with a cactus/succulent mix (I blend equal parts potting soil, perlite, and coarse sand). Plant each seed ½ inch deep, spacing them 2 inches apart to prevent overcrowding. Water lightly immediately after planting—just enough to settle the soil around the roots.
Here's the thing—Joshua tree seedlings hate soggy roots. Use a pot with drainage holes and a saucer underneath to catch excess water. After the first watering, wait until the top 1 inch of soil feels dry before watering again. Overwatering at this stage will kill your seedlings faster than anything else.
⏰ Step 4: Provide Bright, Indirect Light
Place the pots in a location with bright, indirect light—a south-facing window works well, but avoid direct midday sun, which can scorch tender new growth. If your seedlings stretch toward the light (a sign of legginess), move them closer to the window or supplement with a grow light for 12-14 hours daily.
You'll see the first true leaves emerge in 4-6 weeks, but don't expect rapid growth. Joshua trees grow slowly—think years, not months. Once seedlings reach 3-4 inches tall, you can transplant them into larger containers or directly into the ground if you live in USDA zones 7-10.
✂️ Step 5: Harden Off Before Outdoor Planting
If you're transplanting outdoors, start hardening off your seedlings 2 weeks before the last frost by placing them outside in a sheltered spot for 1-2 hours daily. Gradually increase their outdoor time over 10-14 days, moving them to sunnier locations each day. This prepares them for the harsh desert conditions they'll eventually thrive in.
When planting outside, choose a location with full sun and well-draining soil. Joshua trees are drought-tolerant once established, but young plants need consistent moisture for the first 2 years. Mulch lightly around the base to retain moisture and protect roots from extreme temperatures.
Tips & tricks for growing Joshua tree seedlings
Patience pays off with these desert natives—here's how to maximize your chances of success.
Seed Cleaning Precision: When soaking seeds for the required 24 hours, use a mesh strainer to rinse rather than running water. This prevents seeds from floating away, especially if they're small or lightweight. After drying for 48 hours, verify they're completely dry by pressing a seed between your fingers—if it feels damp, extend drying time by another 12 hours. The goal is to eliminate all moisture before stratification, as even slight dampness encourages mold during cold treatment.
Stratification Setup: For the 6-8 week cold stratification, place a small piece of tape over the bag's opening before sealing it completely. This creates a tiny air pocket that prevents condensation buildup inside the bag, which can lead to mold. The 35-40°F refrigerator temperature is critical—any warmer and dormancy won't break properly. I place my bag on a shelf near the crisper drawer's back wall where temps are most stable.
Transplanting Technique: When planting in your 6-inch pot, gently press the soil around each seed rather than packing it down. The cactus/succulent mix should feel like damp sand—not wet, not dry. After the first watering, place the pot in a shallow tray of gravel with water underneath (the "wicking bed" method) to maintain consistent moisture without overwatering. This mimics the desert's infrequent but deep watering cycles.
Light Management: The 12-14 hours of grow light should be positioned 6-8 inches above seedlings to prevent burning. If using a south-facing window, rotate the pot daily so all sides receive equal light exposure. Leggy seedlings indicate insufficient light—supplement with a grow light immediately if you notice stems stretching more than 1 inch longer than they are wide.
Pro Tips for Joshua Tree Seeds How To Grow
- Patience pays off with these desert natives—here's how to maximize your chances of success.
- Seed Cleaning Precision: When soaking seeds for the required 24 hours, use a mesh strainer to rinse rather than runni...
- Stratification Setup: For the 6-8 week cold stratification, place a small piece of tape over the bag's opening before...
Frequently asked questions
Got questions about growing Joshua Tree seeds?
You’re not alone—these tough little seeds can be tricky! Here are answers to the most common questions to help you succeed.
How long does cold stratification take for Joshua Tree seeds?
Cold stratification typically takes 4–8 weeks in the fridge. Place damp seeds in a sealed container with moist sand or paper towels, then store at 35–40°F (2–4°C) for best results. Patience is key—rushing this step can lead to poor germination.
Can I skip cold stratification and still grow Joshua Tree seeds?
While possible, skipping stratification drastically reduces success rates. Without it, seeds may take months or never sprout. If you’re impatient, try soaking seeds in warm water for 24 hours before stratification to soften the hard outer shell.
What’s the best soil mix for Joshua Tree seedlings?
Use a well-draining, gritty mix like 50% cactus/succulent soil + 50% perlite or coarse sand. Avoid heavy garden soil—Joshua Trees hate soggy roots! A small pot with drainage holes is ideal to prevent rot.
How long until Joshua Tree seeds germinate after stratification?
Germination can take 2 weeks to 3 months after stratification. Keep soil slightly moist (not soggy) and place pots in bright, indirect light. If nothing sprouts after 4 months, the seeds may be non-viable—try fresh ones!
Why aren’t my Joshua Tree seeds sprouting?
Common culprits:
- Insufficient stratification: Double-check fridge time and moisture.
- Poor soil drainage: Overwatering or compacted soil suffocates roots.
- Old/dormant seeds: Joshua Tree seeds lose viability over time—source fresh seeds if possible.
- Temperature stress: Keep seeds consistently warm (70–80°F / 21–27°C) after stratification.
Wrapping up and next steps
Growing Joshua Tree seeds from scratch is a rewarding challenge that unlocks the beauty of this iconic desert plant—and you’ve got all the tools to succeed! 🌱 With patience, the right cold stratification technique, and a little care, you’ll soon watch those resilient sprouts push through the soil.
Once your seedlings are thriving, consider sharing the joy by gifting cuttings or seeds to fellow plant enthusiasts or even donating to native plant conservation efforts.
Ready to take the next step? Visit our garden journal to track your progress or explore advanced care tips for nurturing your Joshua Tree into maturity. Happy growing—your desert oasis awaits! 🌵✨